DISM can be used for repairing Windows images including those used for Windows Setup, Windows PE, and Windows Recovery Environment (WinRE). It is capable of fixing various issues in Windows 11 which other Windows repairing tools like System file check fails to fix. For example, if your Windows 11 PC is not working properly due to mysterious reasons like hardware failures, corrupt apps or software, and others. The tool can help in fixing these corruptions, all you have to do is to run a few commands from Command Prompt. Though these tools may be easier to use, they can sometimes take a lot of your time depending upon the corrupted files your PC has. It may take around a few minutes and even a few minutes for these tools to fix the issues you face with Windows 11.
How to Repair Windows 11 Using DISM
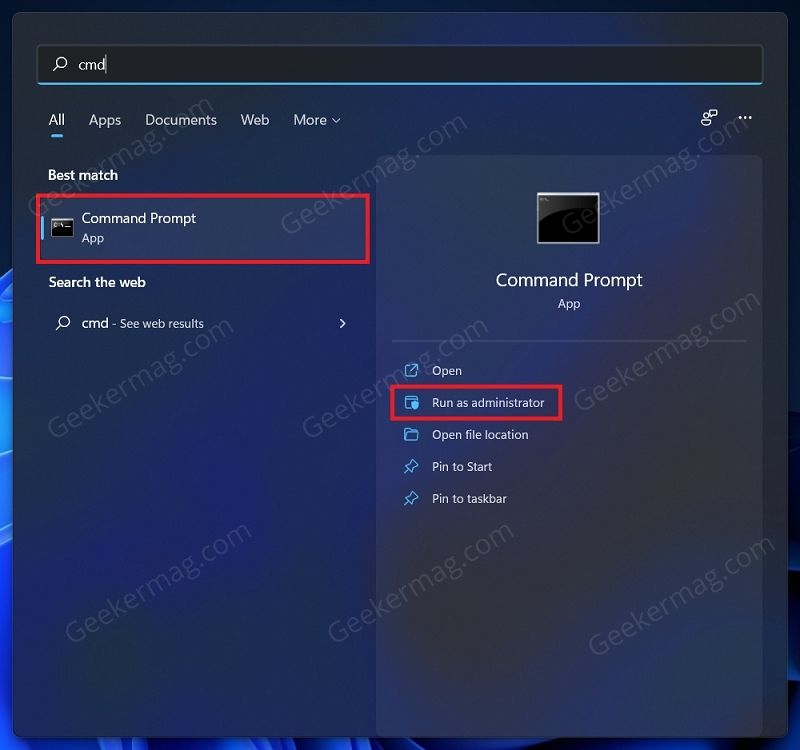
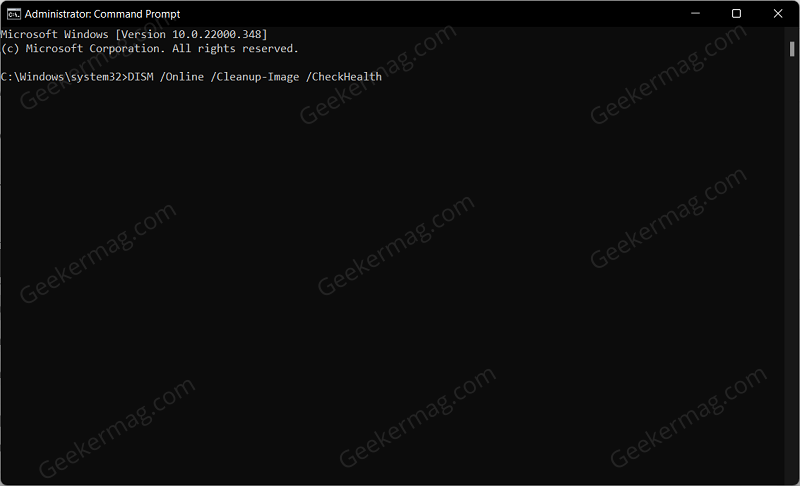
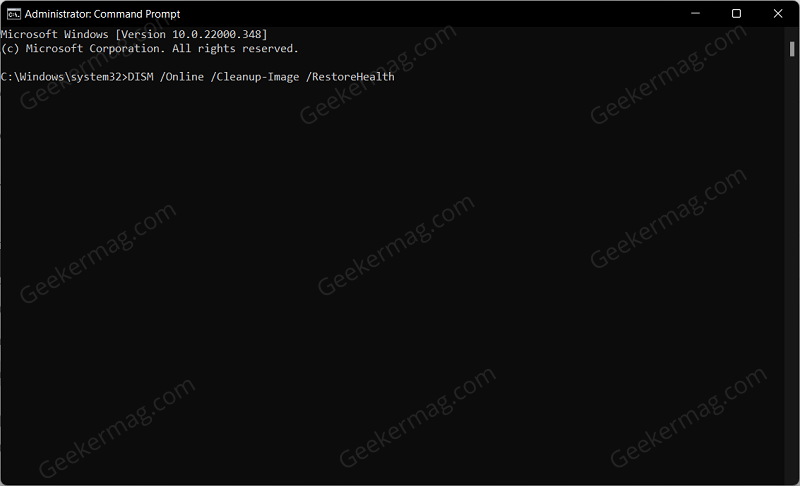
If you want to repair Windows 11 using the DISM Command-line tool, then in this blog post we will share the step-by-step process on how to do that. Open the Start Menu by clicking on the Start icon on the taskbar. In the Start Menu search for Command Prompt. Select Command Prompt from the search result, and then click on Run as administrator. When you get UAC, click on Yes to continue. To run the DISM or Deployment Image Servicing and Management Tool, you just need to launch an elevated command prompt and execute the DISM. This will show image specification, DISM options, and various examples to execute the command If you execute this command, DISM /Onlinethis signifies that you are modifying an online image (does not signify that a scan will run over the internet). If you execute this command: DISM /Online /Cleanup-Image then this triggers a more extensive check which can resolve issues with the store. If you execute this command: DISM /Online /Cleanup-Image /CheckHealth, it starts a basic check to see if corruption has been detected in the store. If you execute this command: DISM /Online /Cleanup-Image /ScanHealth, performs a more comprehensive scan of the store for corruption. At this point, no corruption is fixed but creates logs of corruption. You can find it here: C:\Windows\Logs\CBS\CBS.log If you execute this command:DISM /Online /Cleanup-Image /RestoreHealth, scans the store for corruption here “C:\Windows\Logs\CBS\CBS.log” and also repairs corrupted files using Windows update. Usually, the process takes around 10-15 minutes, it can take longer if the issue is severe. In short, when you run these DISM commands back to back, then this is what happens:
Repair Windows 11 with DISM using Install.wim
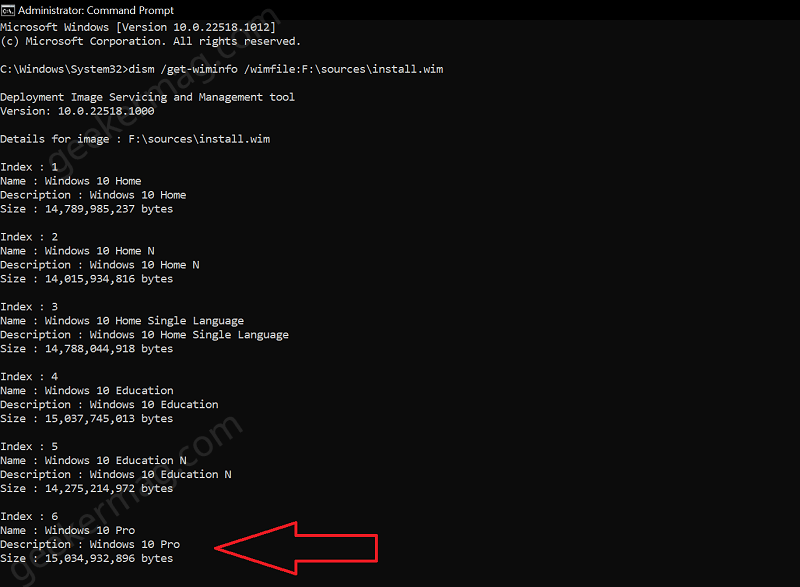
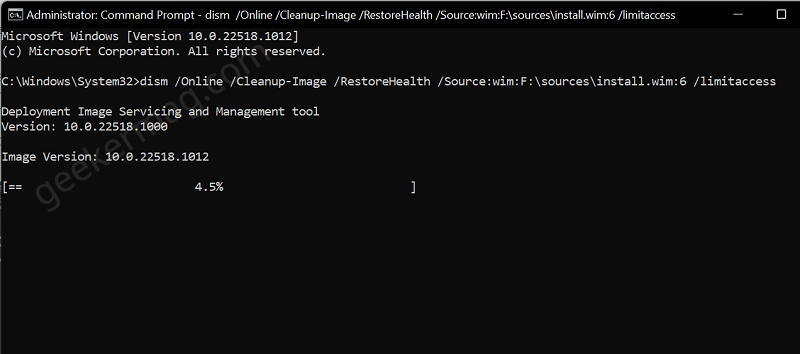
Alternatively, you can also use Install.win file to repair issues in Windows 11. Here’s how you can do that: Download the latest version of Windows 11 ISO images. Double-click on the iso file to mount it or if you have it on a USB drive, then connect it to your device. Note the drive letter. For example F: Launch Command Prompt with admin rights and execute the following command: dism /get-wiminfo /wimfile:F:\sources\install.wim In case, your ISO image includes the ‘install.esd’ file, then replace ‘install.win’ with ‘install.esd’ in the above command. Now you will get details for an image in that source. You need to make note of the index that matches your current edition of Windows11. My device runs Windows 11 Pro edition, then Index 6 is for my machine. In the command prompt, you need to execute this command: dism /Online /Cleanup-Image /RestoreHealth /Source:wim:F:\sources\install.wim:6 /limitaccess. Following the above steps, you will be able to repair Windows 11 using the DISM command line. Why don’t you give it a try and if you need further assistance feel free to contact via comment.