Grammarly is a popular free grammar checker tool that instantly kills various grammatical errors and improves your writing. It also offers additional features accompanied by a plagiarism detection tool all comes with the premium package. This tool is handy, and users can around 250 grammar rules. From a content writer to a student, everyone using this tool to make their writing perfect. The users can start using the Grammarly just by filling up a quick form. Grammarly offers various apps so that users can use it according to their requirement. Following Grammarly apps are available:
Grammarly for ChromeGrammarly for Word and Outlook (Full Microsoft Office)Grammarly for Windows
Most of the users choose to go with Grammarly extension for the Web browser. Grammarly plugin is available for Google Chrome, Firefox, and Microsoft Edge too. Users can download and install Grammarly extension just like any other extensions. Here are the links to download Grammarly extension for your favorite browser:
Grammarly for ChromeGrammarly for FirefoxGrammarly for Edge
After the installation, whenever you write using in-text editor offered by the web service. The Grammarly will start showing you the grammatic errors with the best possible suggestion to fix it. The process is pretty simple, right? Yes, it is!
How to Add Grammarly to Word in Windows 10
The majority of the users want to know the way to enable Grammarly to Word. To help out those users, we decided to write easy to follow instructions:
- Download Grammarly Addon for Microsoft Office using this link. You will get the file named as “GrammarlyAddInSetup“.
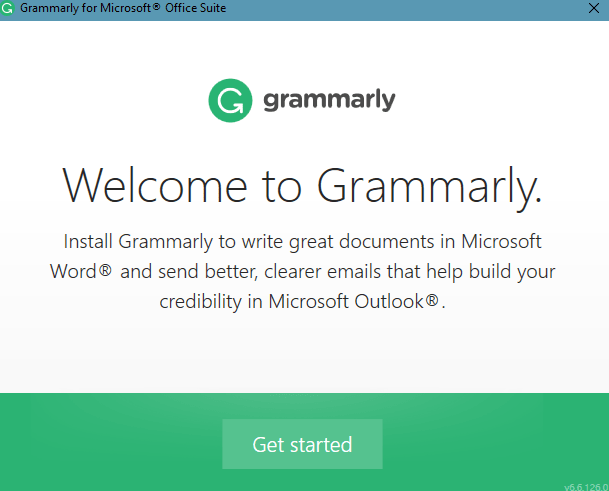
- Double click to run the setup file and then click on Get Started button to continue the installation process.
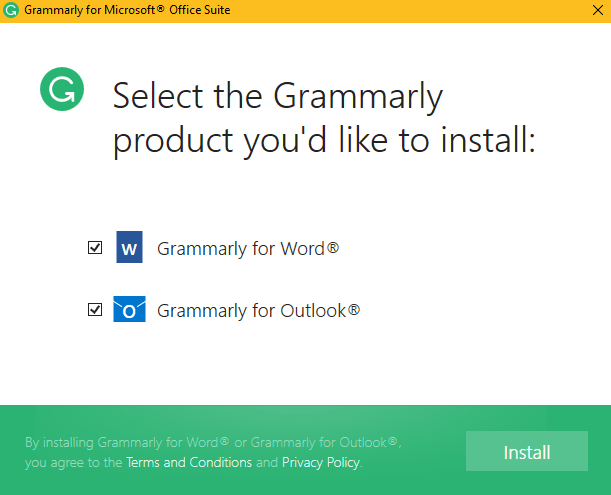
- In the next screen, you need to select the Grammarly product you want to install. Currently, it offers you:
Grammarly for WordGrammarly for Outlook
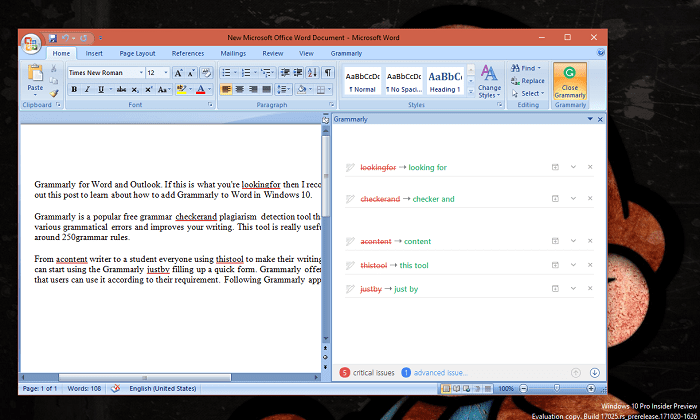
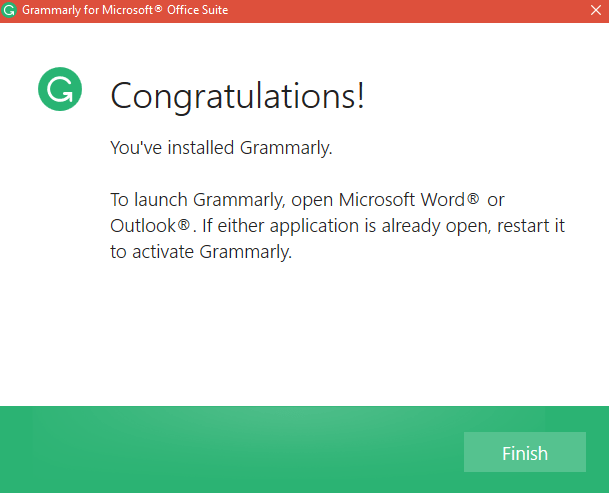
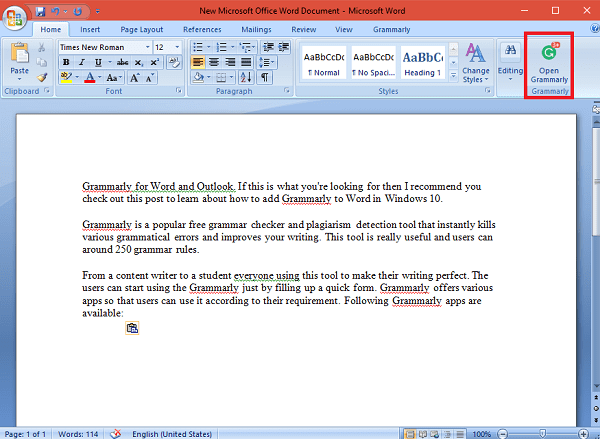
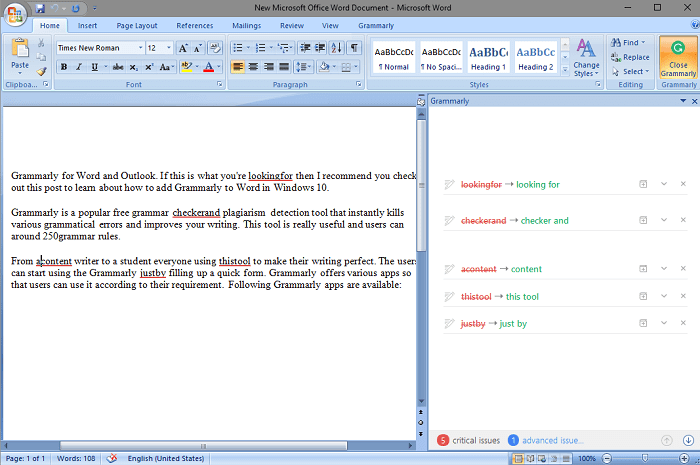
Make sure to choose Grammarly for Word and click on the Install button. In case you want Grammarly for Outlook; then you can also select that product too. For my system, I will go with both. This will start the installation of both products. Once done, you will see the following screen showing you Congratulations message. Click on the Finish button. To Start using Grammarly for Word in Windows 10, Create a new Word file or open the file in which you want to look out for grammatic mistakes. To check the error using Grammarly in Word file, you need to click on the Grammarly icon available on the top right side of the screen. It will open the Grammarly text editor within the word file. In case, your writing has any grammatic error, it will show you a possible suggestion to fix it. Check the following screenshot for a clear idea: Just click on the suggestion and fix the grammatic error. Once done with corrections close the Grammarly editor and save the Word file. Isn’t it easy? This is how to enable Grammarly for Word. Similarly, you can configure Grammarly for Outlook. Grammarly for Windows application is also available you can also download the setup file using this link. Once the installation is completed, the native Grammarly app icon will be available on the desktop. You can access all your documents right from there. Grammarly Premium Package Grammarly is a free grammar checker and lets you check critical grammar and spelling checks. In case you want your writing unique, then you must try Grammarly Premium Package. It offers you some additional features like:
Advanced checks for grammar, sentence structure, punctuations, and content.Vocabulary enhancement ideasGenre-specific writing style checksPlagiarism detector
It offers three different plans and pricing package:
Monthly – 29.95 / MonthQuarterly – 19.98 / MonthAnnual – 11.66 / Month
That’s it! Do you find this tutorial on how to add Grammarly to Word useful? What are your thoughts about this online grammar checker? We would like to hear from you in the comments.
