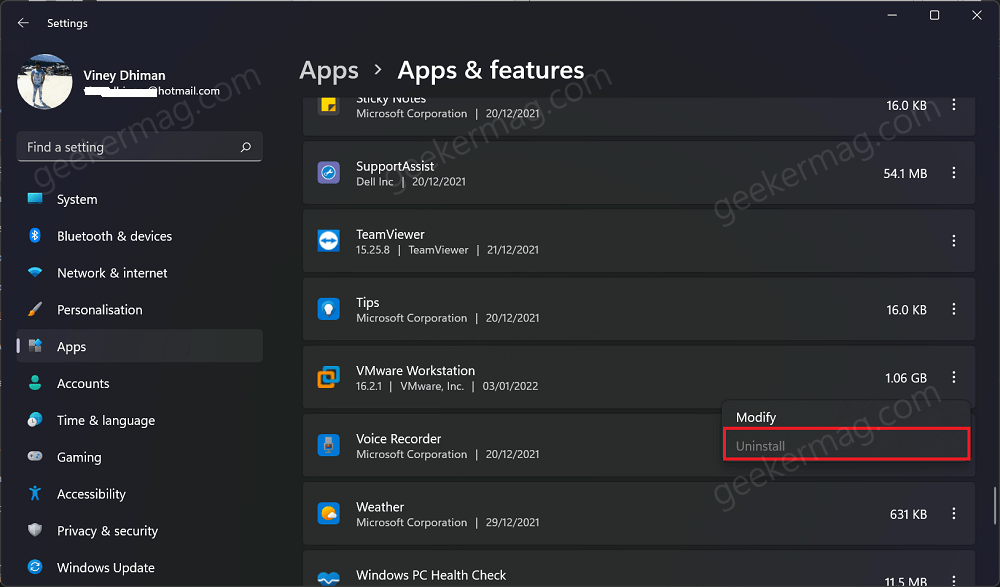
Installing and using VMware Workstation on PC is super easy, but when it comes to uninstall VMware workstation, you can’t uninstall it just like any other app and program installed on your computer. According to various reports whenever they’re trying to uninstall VMware Workstation pro from Windows 11 and Windows 10 either via settings app and control panel the Uninstall button is grayed out. Usually this happens when users don’t have (enough) local admin rights.
Fix – Can’t Uninstall & Remove VMware Workstation Pro in Windows 11 &10
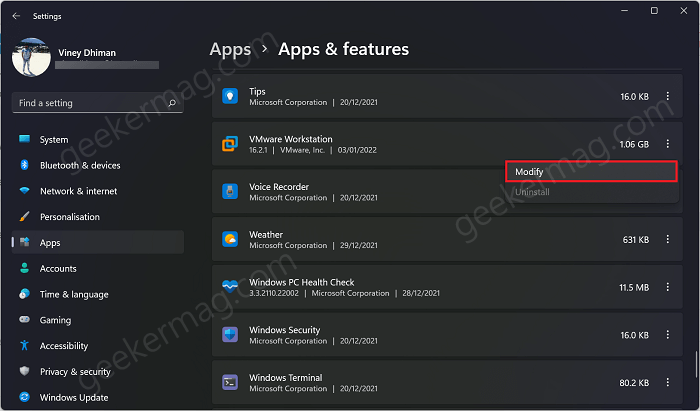
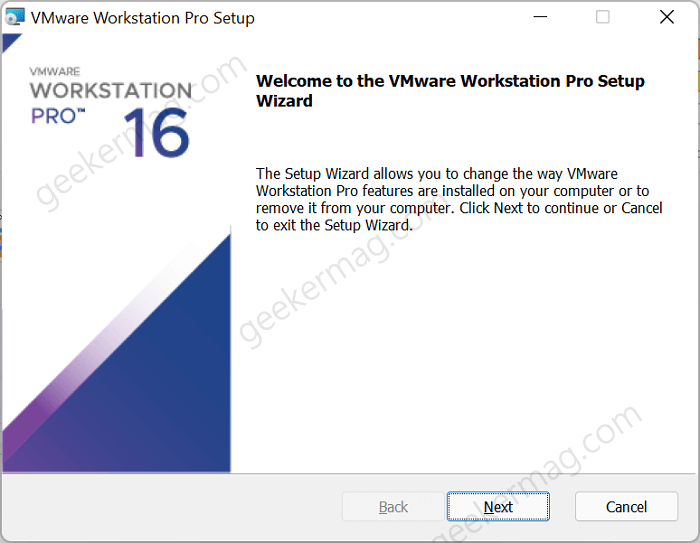
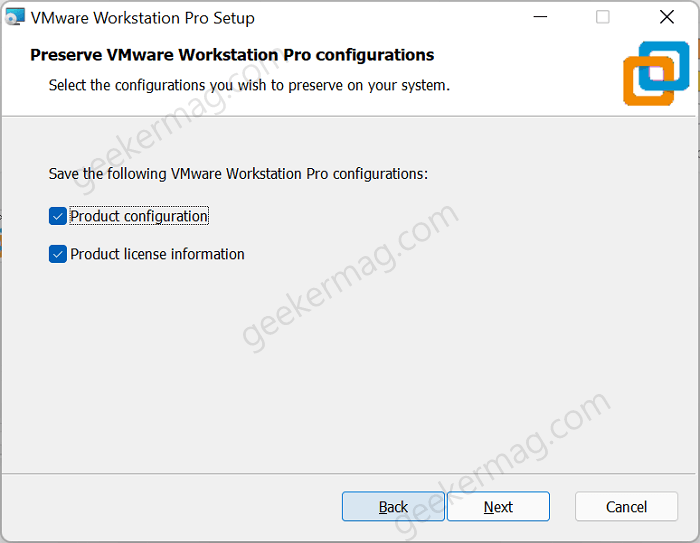
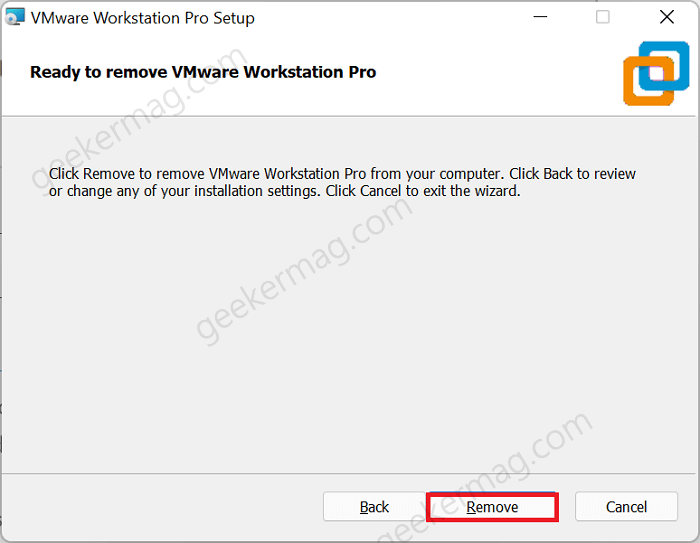
In case, you’re admin and still Uninstall button for VMware Workstation is grayed out, then in this blog post we will share quick solution on how to uninstall it. Note – At this point, I presume that VMware Workstation Pro application is already installed on your Windows 11 and Windows 10. Let’s learn how to quickly and easily uninstall VMware Workstation from Windows 11 and Windows 10. Here’s what you need to do: Launch Settings app on your Windows 11 PC. On Settings app, switch to Apps tab on the left and then on the right side, click on Apps & features. On this page, scroll down to VMware Workstation app, then click on three dots icon and select Modify. This will run VMware Workstation Pro setup, click Next. On next screen, you will find three options, click Remove. If you want to remove everything related to VMware workstation, then uncheck box for both Product configuration and Product license information and then click Next. At last, click on the Remove button and this will start uninstall the VMware Workstation pro So this how you can uninstall VMware Workstation Pro from Windows 11 or Windows 10 or fix Uninstall button for VMware Workstation is grayed out. Why don’t you try this solution and let us know if this helped you or not. If you know any other working solution feel free to share in the comments.
